
Download the appropriate InDesign Template to start your design from.
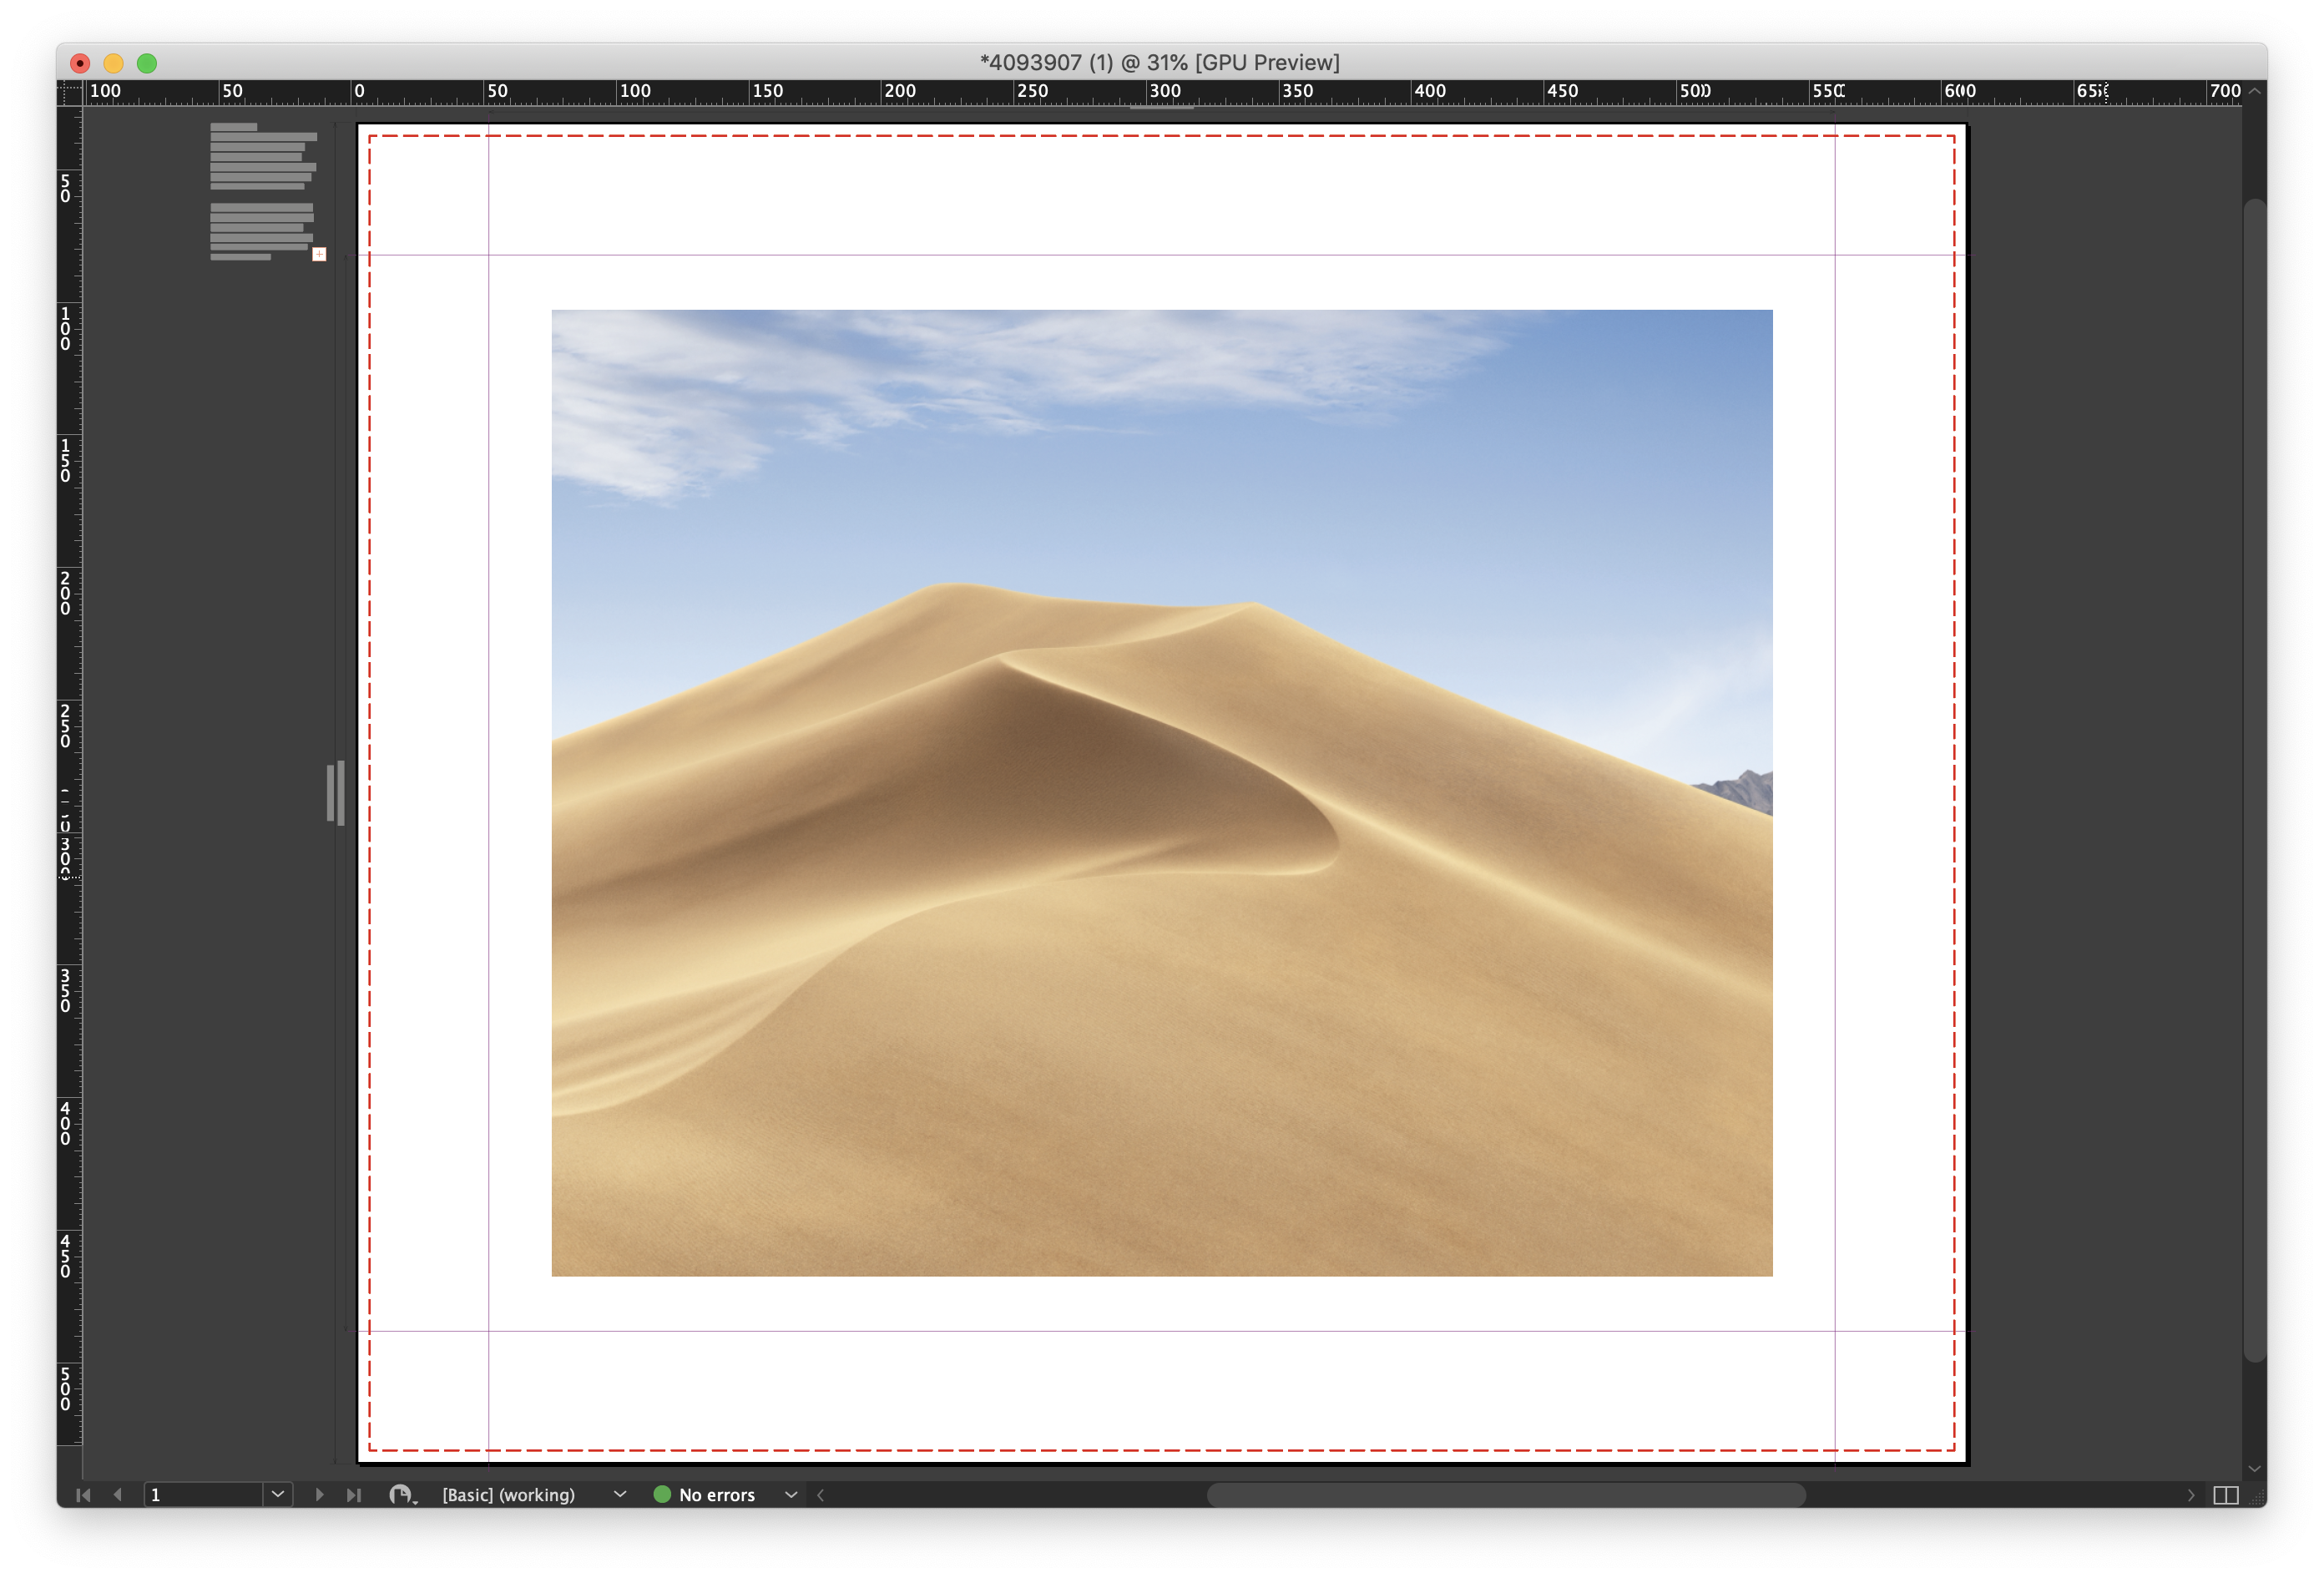
As the canvas fabric has to be tensioned around a wooden frame, extra bleed is required. On the template, the product size is the area that will be visible of the front of the canvas. Anything within the large quiet zone will disappear from view once the canvas is mounted.
| Bleed, mm | |
|---|---|
| Premium Framed Canvas | 53 mm |
| Budget Framed Canvas | 50 mm |
Framed Canvas files must be supplied with the dashed red 2pt keyline which will appear on the reverse of the frame once the canvas is finished, but the quiet zone markings must not appear on the submitted PDF. If the quiet zone is present on the submitted graphic file then it will be printed.
On our templates the area within the purple guides is the front of the canvas, the area outside is the side and part of the canvas that will stretch behind the frame.
We recommend placing a generous white border around the image if you're unable to bleed the image to the document edge
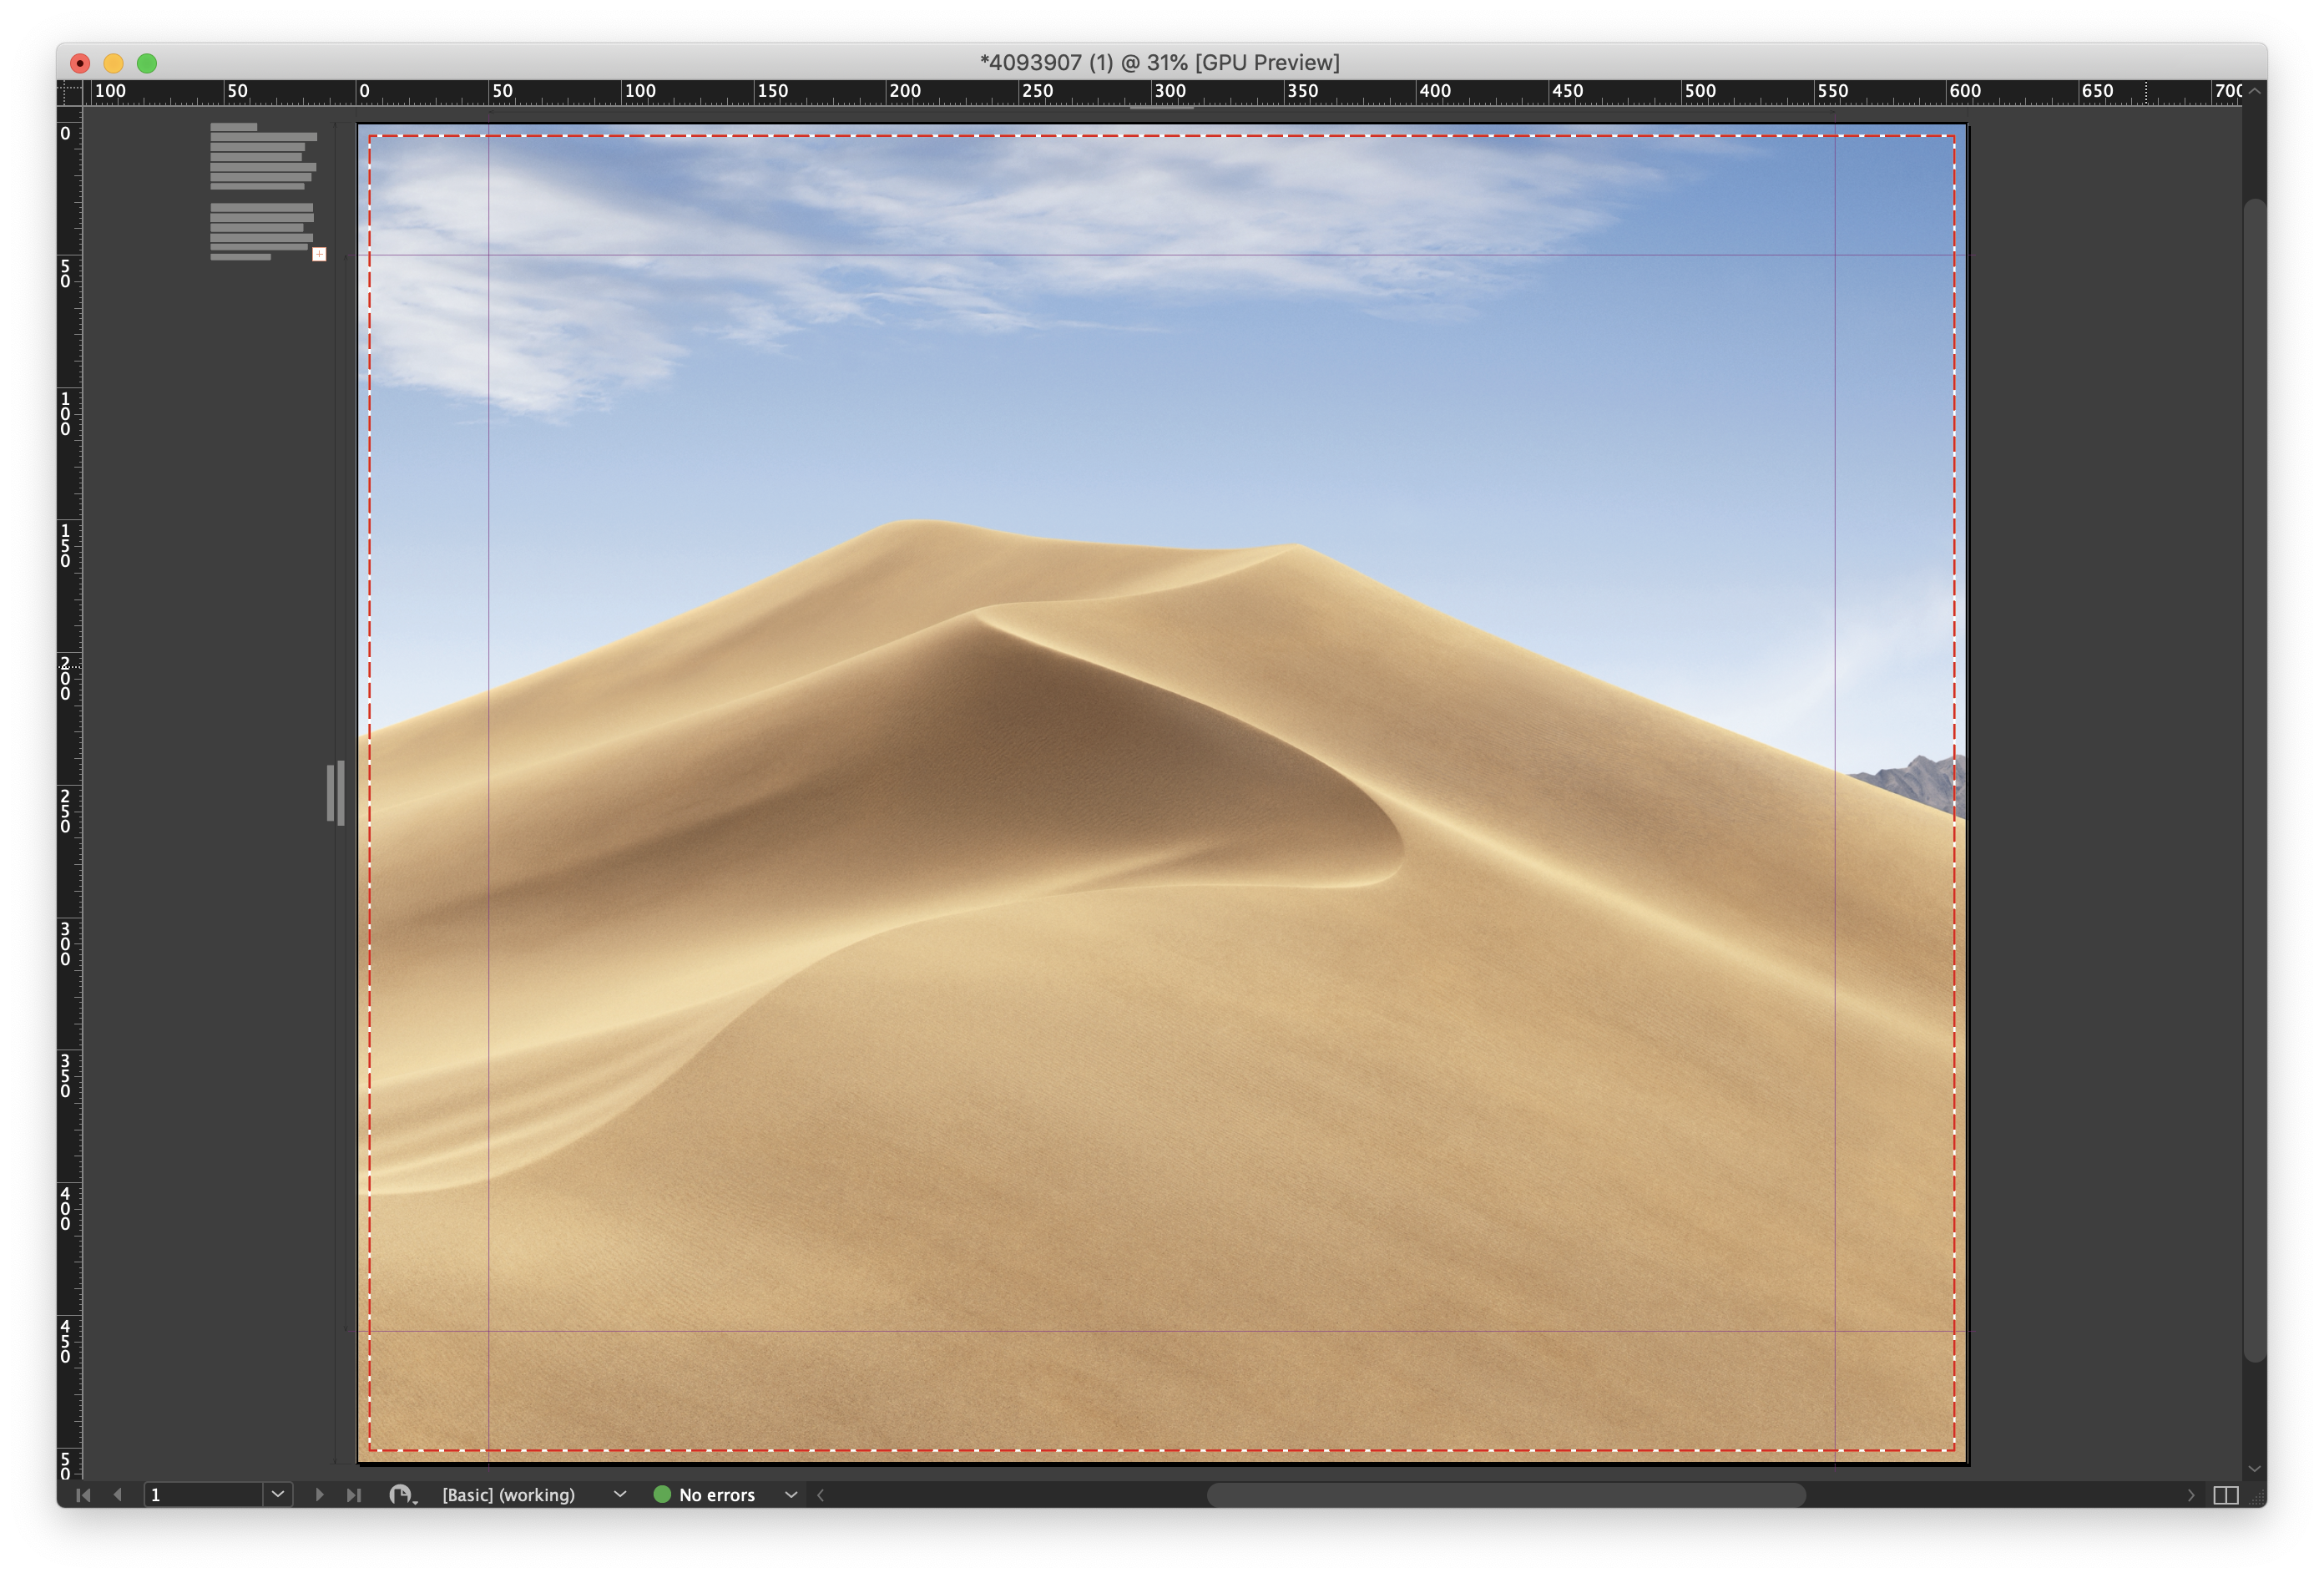
The alternative is to bleed the image to the edge so that the image appears on the front and sides of the canvas once printed.
Ink limits for canvas prints are recommended not to exceed 225% total area coverage. Please do not embed any colour profiles as this may affect the colours in your file when it is printed.
Large Format posters are designed to be viewed at a distance, (usually of at least 1 metre).
This means that images supplied or Large Format products do not need the high resolution required for litho printed items. We recommend that you provide images for Large Format Posters at a maximum of 150 dpi.
The reproduction of any image will not exactly match a litho print of the same image.
All products should be handled with care. Minor scratching and creasing can occur during production. Please remember that these products are intended for viewing at a distance; these minor scratches and creases are not visible at these distances.
Posters should be supplied at ‘artwork size’. No bleed should be applied. Always supply one file per panel, not one multi-page PDF. The templates for Evolution Pop-up stands still have a page frame, do not delete this but bear in mind that you will loose around 1mm from each edge of the poster when the page frame is trimmed off. This is because the keyline covers your artwork and needs to be trimmed off.
Unless otherwise stated in the specification of the product, all poster substrates are recommended for short term use (less than 3 months). All inks fade with time, depending on the ambient environment that they are displayed in. We cannot put an exact time on this due to the variables.
To create a good solid black, use rich black (see page Error: Reference source not found). Do not use four-colour black. Ink limits for Large Format are the same as for uncoated litho printed products (225% maximum recommended).
To produce a colour-neutral black, greyscale images intended for Large Format output should be converted to a four-channel CMYK format.
When ordering posters with a lot of image or solids at the top and/or bottom with a lot of white space in the middle, there is a probability that the poster can curl at the top and bottom due to the inks altering the tension of the substrate.
Small text can become illegible at larger distances. We recommend that you keep your text size to a minimum of 14pt. Overlay your text in a vector-based artwork application like InDesign or Quark XPress, rather than a bitmap-based photo-editing application like Photoshop.

 Print this page